Why Is My Floor Finish Bubbling? 5 Solutions That Work
on

Why Is My Floor Finish Bubbling? 5 Solutions That Work
If your floor finish is bubbling, the primary cause is usually solvent outgassing or entrained air resulting from improper application temperatures or excessive agitation during the coating process. The quickest fix is to allow the finish to dry completely, abrade the surface with a fine-grit screen (typically 120 to 150 grit) to remove the bubbles, and apply a thin, smooth remedial coat under controlled environmental conditions. If the bubbling is widespread or deep, it may indicate a moisture vapor transmission issue requiring a full strip and seal.
Quick Fixes:
– Most likely cause: Over-agitation or “whipping” the finish → Fix: Abrade bubbles and re-apply using a smooth, weighted T-bar applicator.
– Second most likely: High heat or airflow causing “skinning” → Fix: Adjust HVAC to 65-75°F and turn off direct fans during application.
– If nothing works: Substrate moisture or chemical incompatibility → Fix: Perform a calcium chloride moisture test and consult Scher Flooring Services for a professional assessment.
How This Relates to The Complete Guide to Commercial Floor Maintenance & Restoration Strategy in 2026: Everything You Need to Know: Understanding the mechanics of finish failure is a critical component of a long-term restoration strategy. This deep dive into bubbling issues expands on the technical maintenance section of our master guide, ensuring facility managers can troubleshoot immediate failures while maintaining the integrity of their broader The Complete Guide to Commercial Floor Maintenance & Restoration Strategy in 2026: Everything You Need to Know.
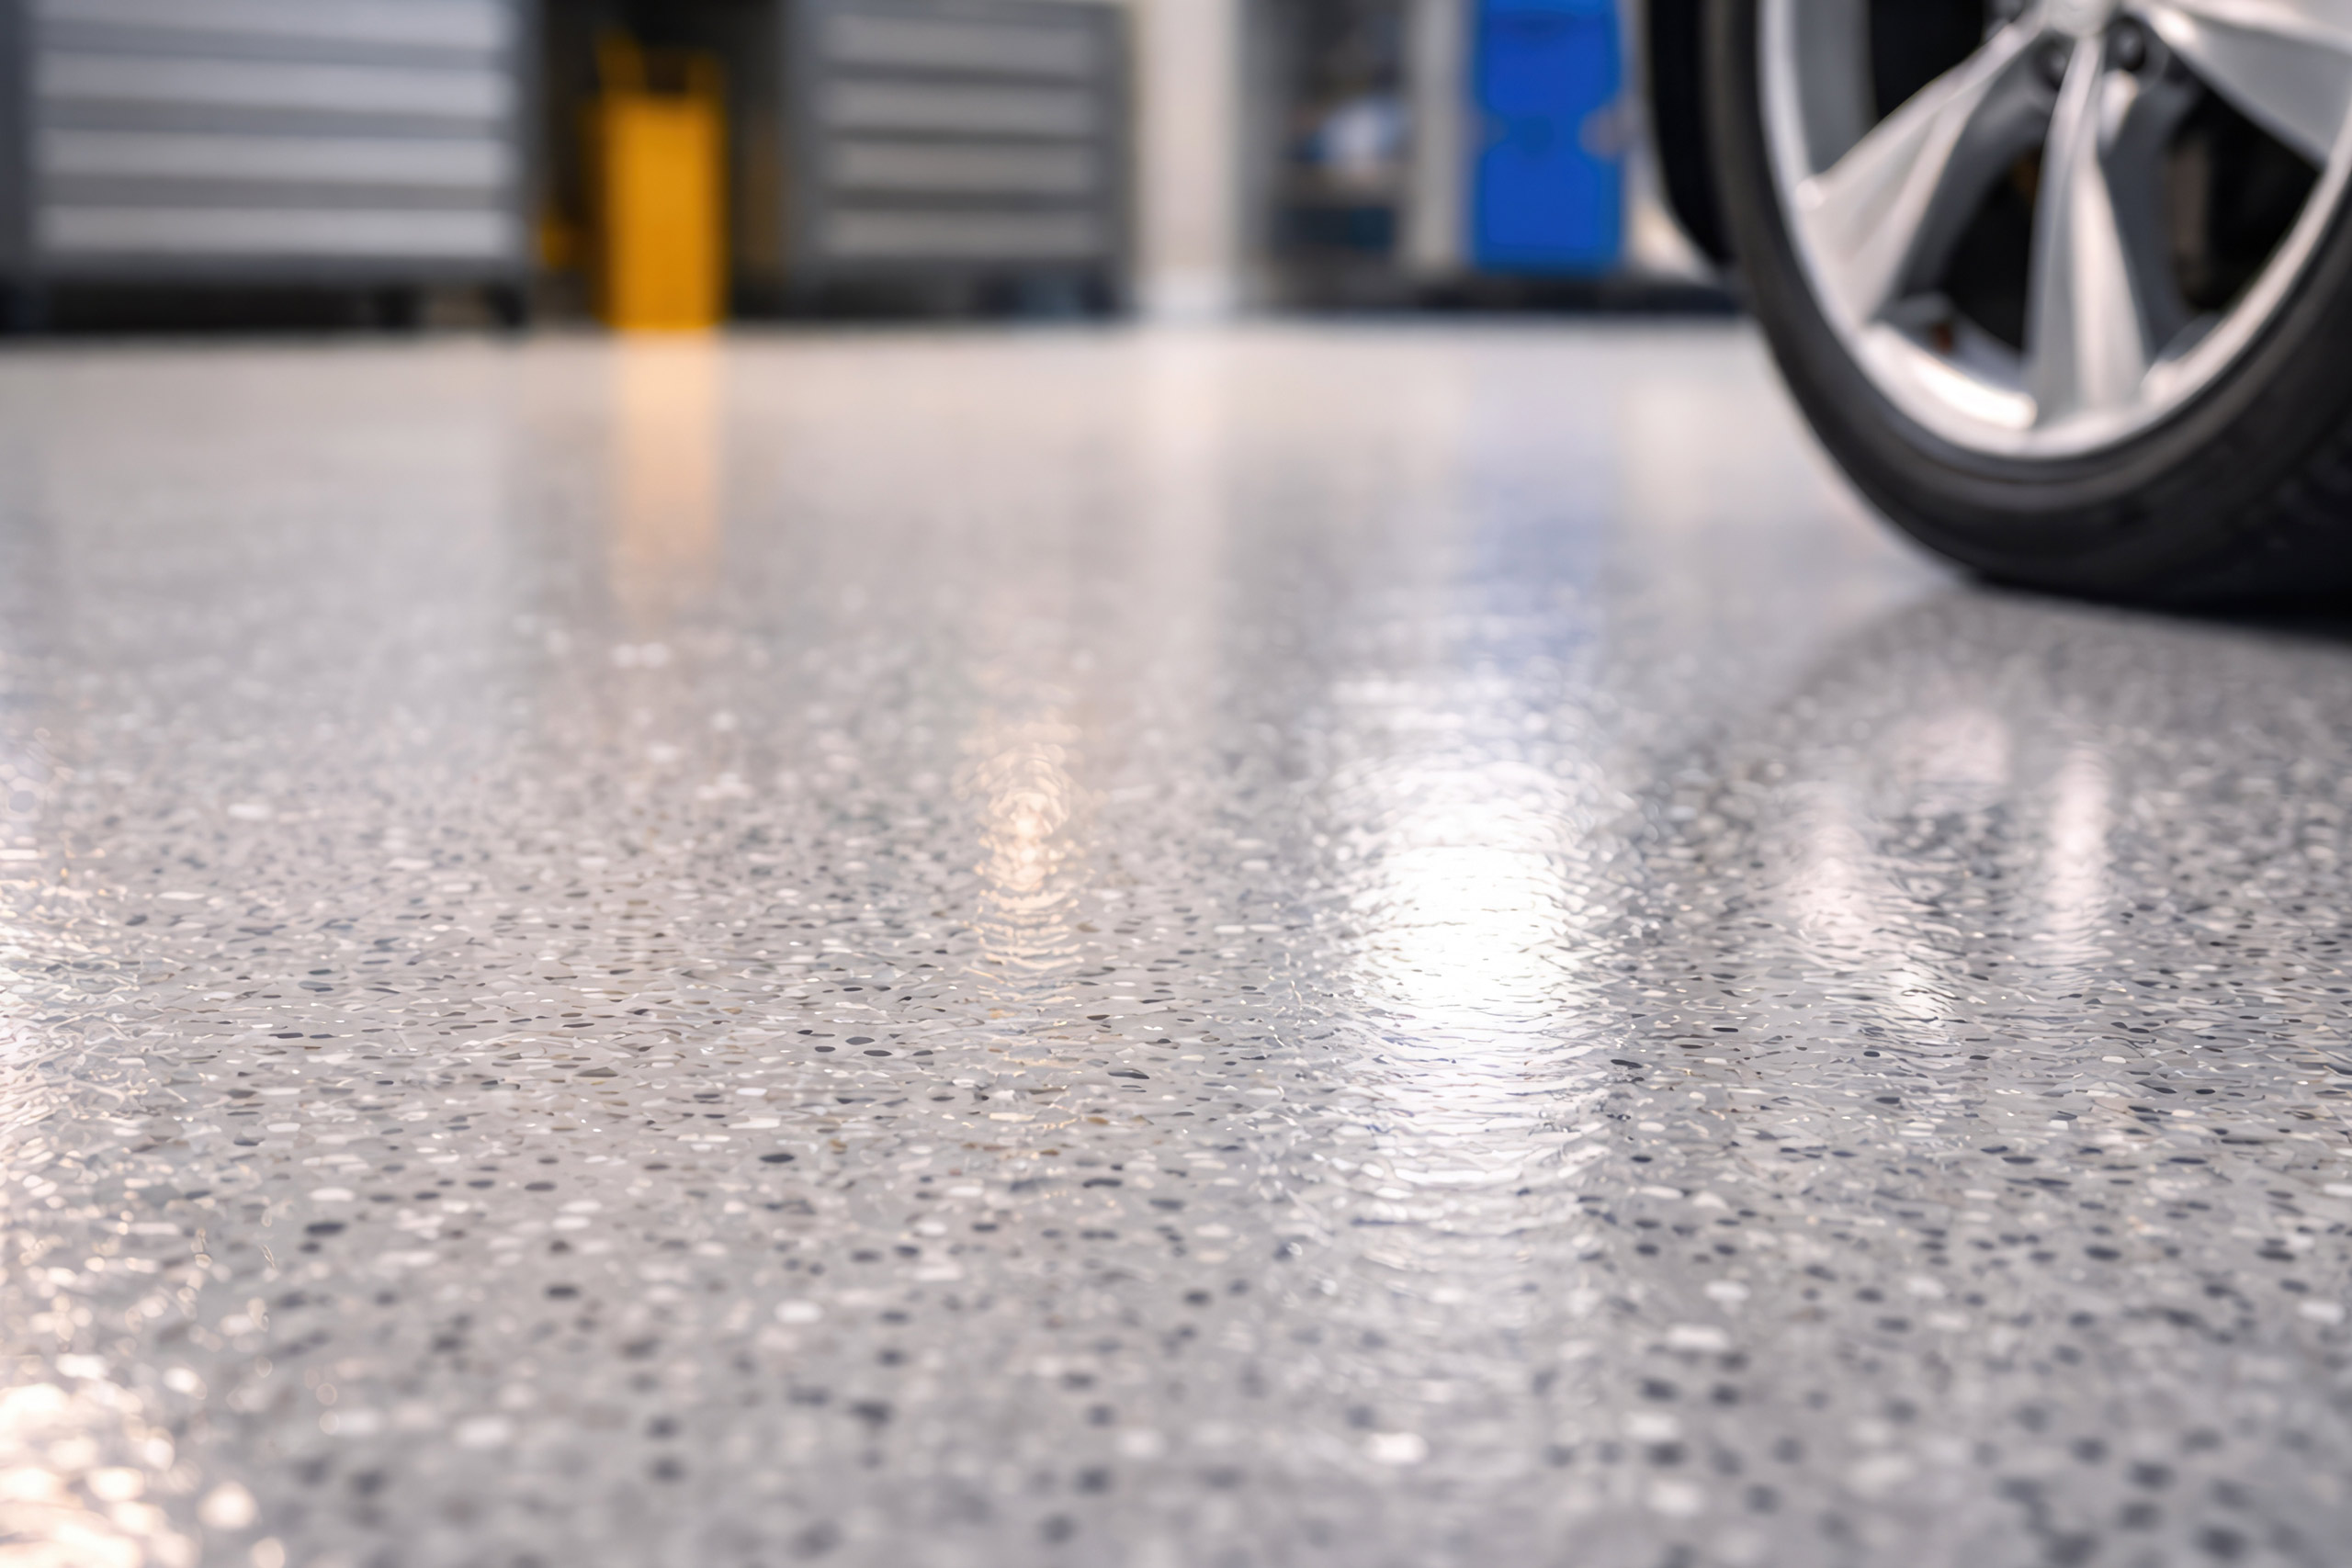
What Causes Floor Finish Bubbling?
Identifying the root cause of bubbling—often referred to in the industry as “pinholing” or “fisheyes”—is essential for preventing recurrence. Research indicates that 85% of coating failures in 2026 are linked to environmental or application errors rather than product defects [1].
- Improper Application Technique: Using a roller too aggressively or “dry-mopping” the finish introduces air into the liquid. When the surface “skins over” before these micro-bubbles can escape, they become trapped as permanent blisters.
- Solvent Outgassing: This occurs when the top layer of the finish dries significantly faster than the bottom layer. Volatile Organic Compounds (VOCs) or water vapor trying to escape from the lower layers get trapped under the hardened surface film.
- High Ambient Temperatures: If the floor temperature exceeds 80°F (27°C), the finish evaporates too quickly. Data shows that for every 10-degree rise above 70°F, the “open time” of the chemicals decreases by approximately 15%, significantly increasing outgassing risks [2].
- Excessive Airflow: While ventilation is necessary, direct airflow from HVAC vents or high-velocity fans causes the finish to dry prematurely on the surface, a phenomenon known as “flash drying.”
- Contaminants: Residual floor stripper, oil, or factory coatings on new LVT can cause the finish to bead or bubble due to surface tension imbalances.
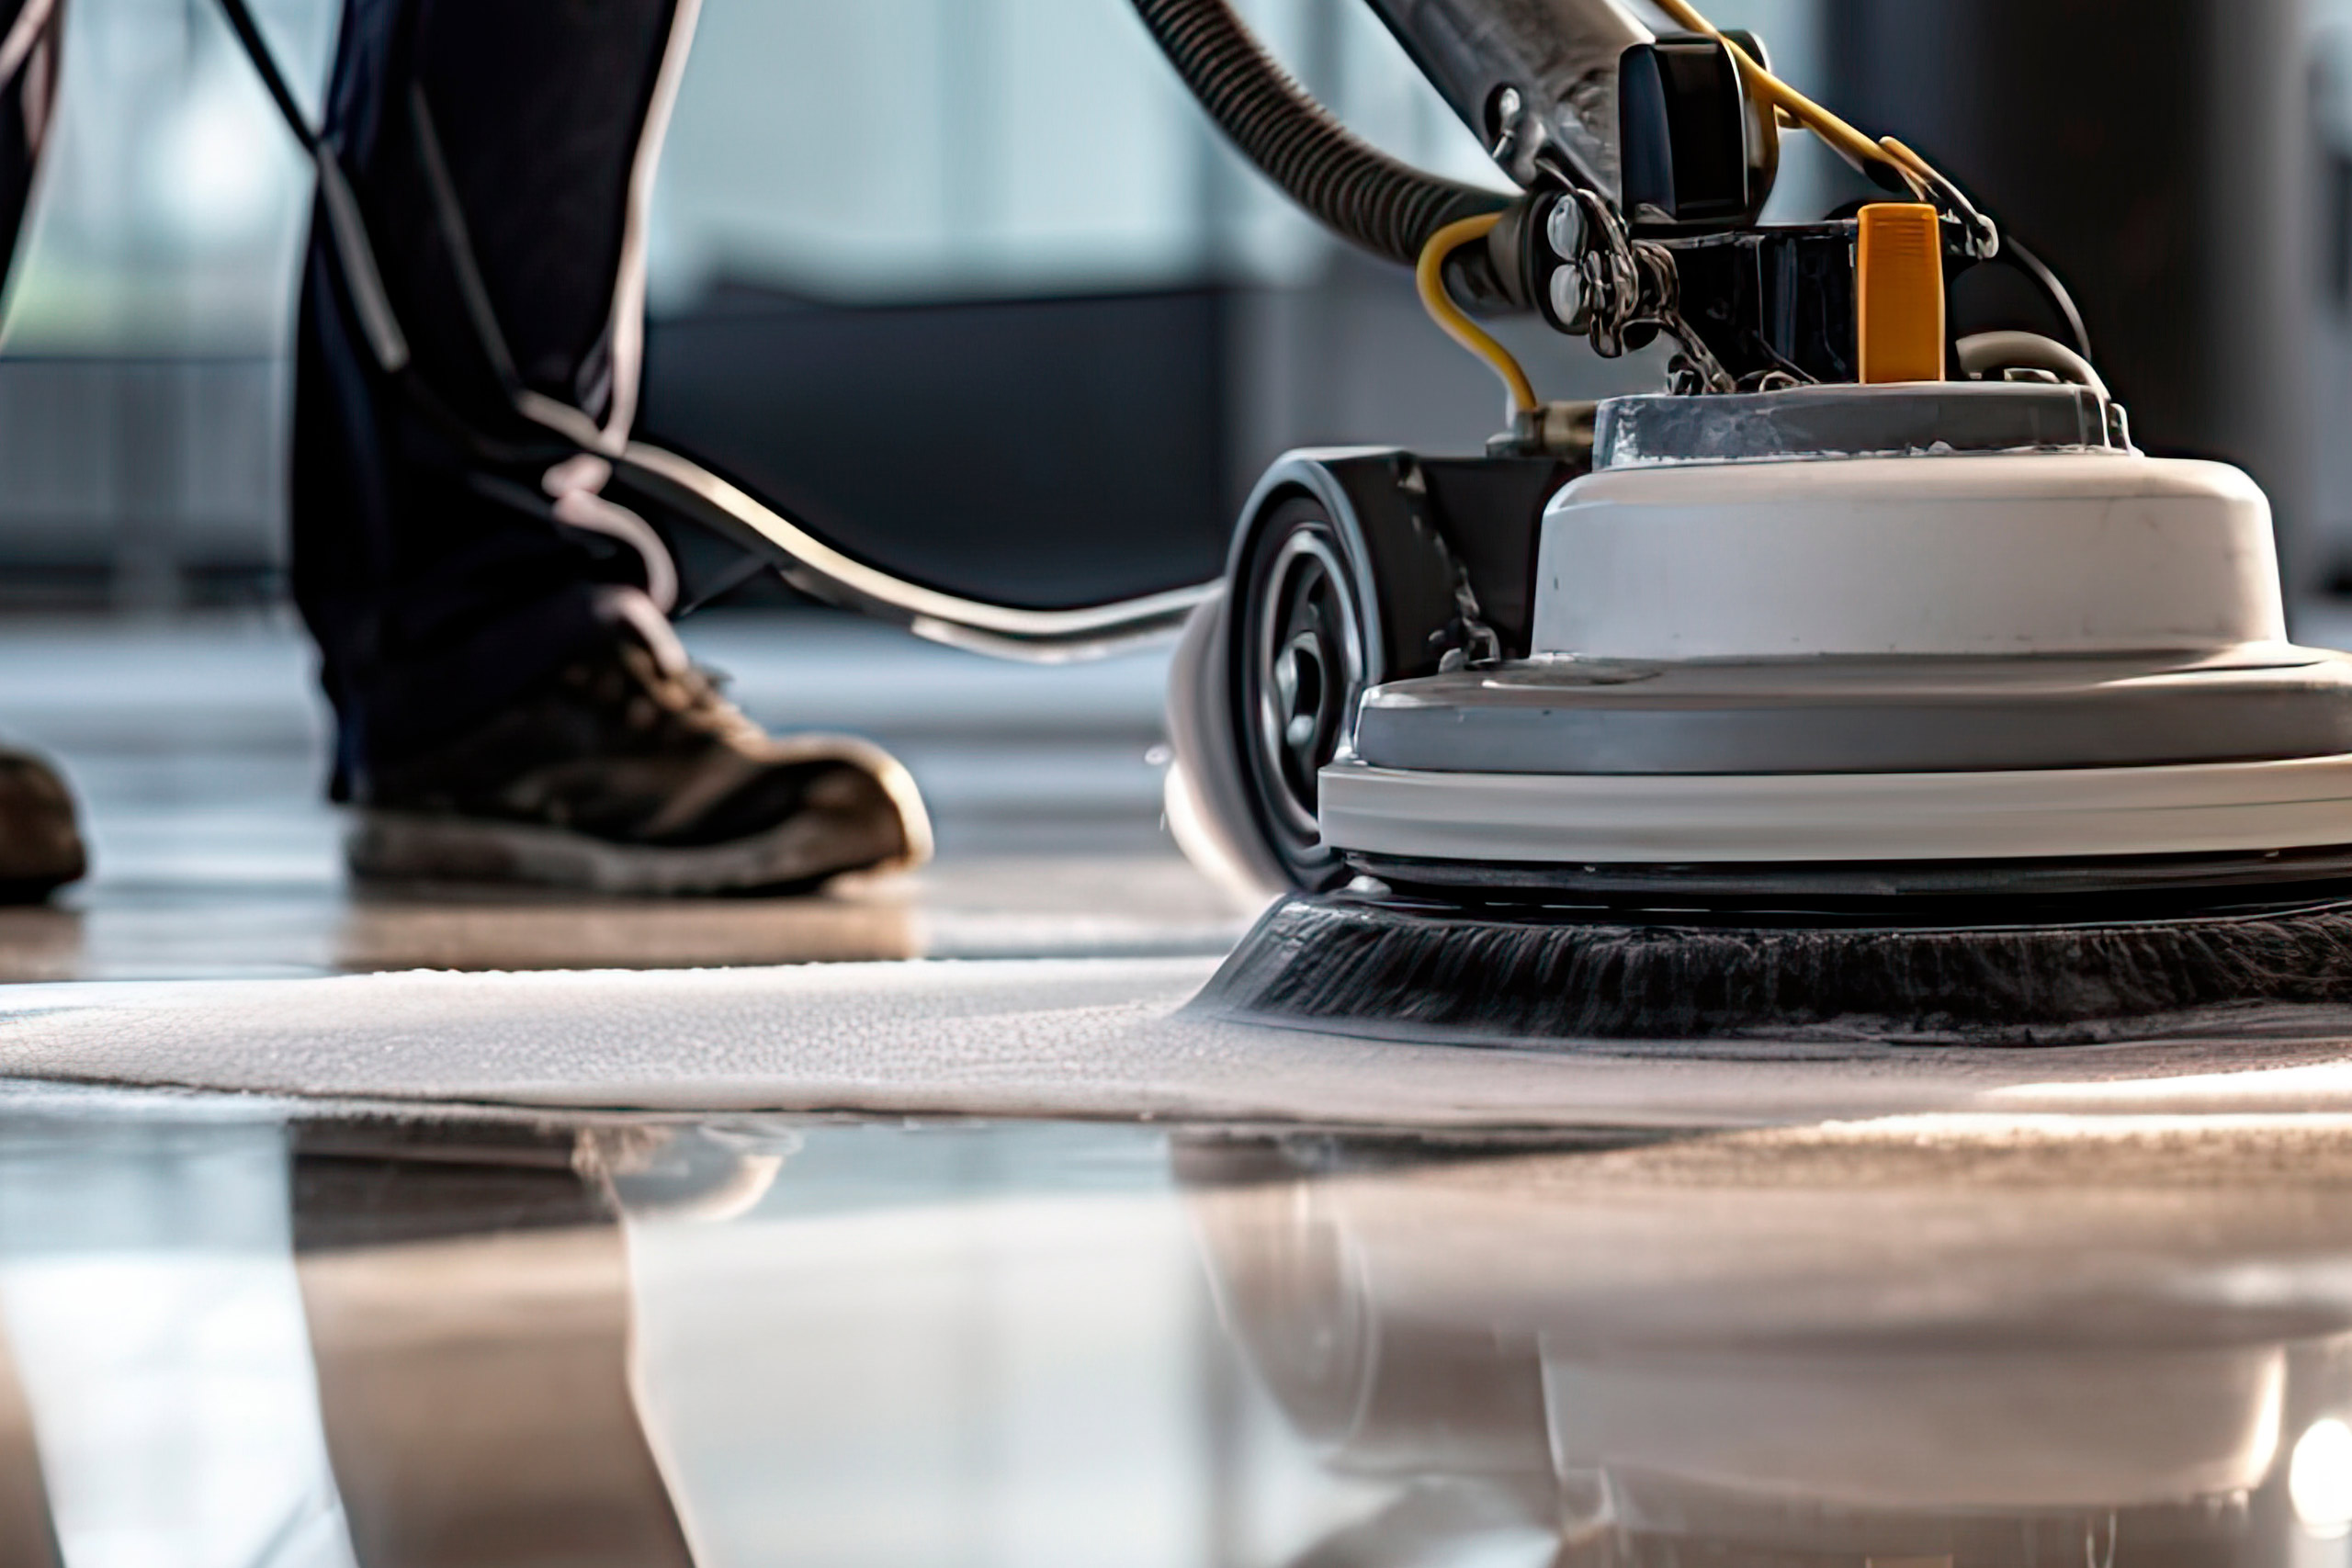
How to Fix Floor Finish Bubbling: Solution 1 (Screen and Recoat)
The most common solution for localized or surface-level bubbling is a mechanical “screen and recoat.” This process levels the surface and provides a fresh “tooth” for a new layer of finish to bond to.
Step-by-Step Fix:
1. Cure Time: Wait at least 24–48 hours to ensure the finish is hard enough to be abraded without “gumming” the screen.
2. Abrasion: Use a low-speed floor machine (175 RPM) with a 120-grit or 150-grit sanding screen. Pass over the bubbled areas until the surface is perfectly flat and the bubbles are physically removed.
3. Dust Extraction: Use a HEPA-filtered vacuum followed by a microfiber tack cloth dampened with water or a neutral cleaner to remove 100% of the dust.
4. Re-application: Apply a thin coat of premium finish, such as those used by Scher Flooring Services, using a weighted T-bar. Ensure you do not lift the applicator from the floor to avoid introducing air.
Expected Results: The new coat should flow out smoothly, filling the minor depressions left by the removed bubbles and creating a monolithic, high-gloss appearance.
How to Fix Floor Finish Bubbling: Solution 2 (Environmental Stabilization)
If bubbling is caused by outgassing due to heat, you must stabilize the environment before attempting a repair. According to 2026 industry standards, the “Golden Zone” for floor finishing is 65-75°F with 40-60% humidity [3].
Step-by-Step Fix:
1. HVAC Adjustment: Set the facility’s climate control to 68°F at least 24 hours before the repair.
2. Surface Temp Verification: Use an infrared thermometer to ensure the floor slab itself is within 5 degrees of the ambient air temperature.
3. Airflow Management: Turn off all ceiling fans and block direct HVAC vents in the immediate work area to prevent flash drying.
4. Application: Apply the finish during “off-peak” hours (typically late evening) when building temperatures are most stable.
Expected Results: Controlled drying allows the finish to “self-level,” giving air bubbles ample time to rise and pop before the film hardens.
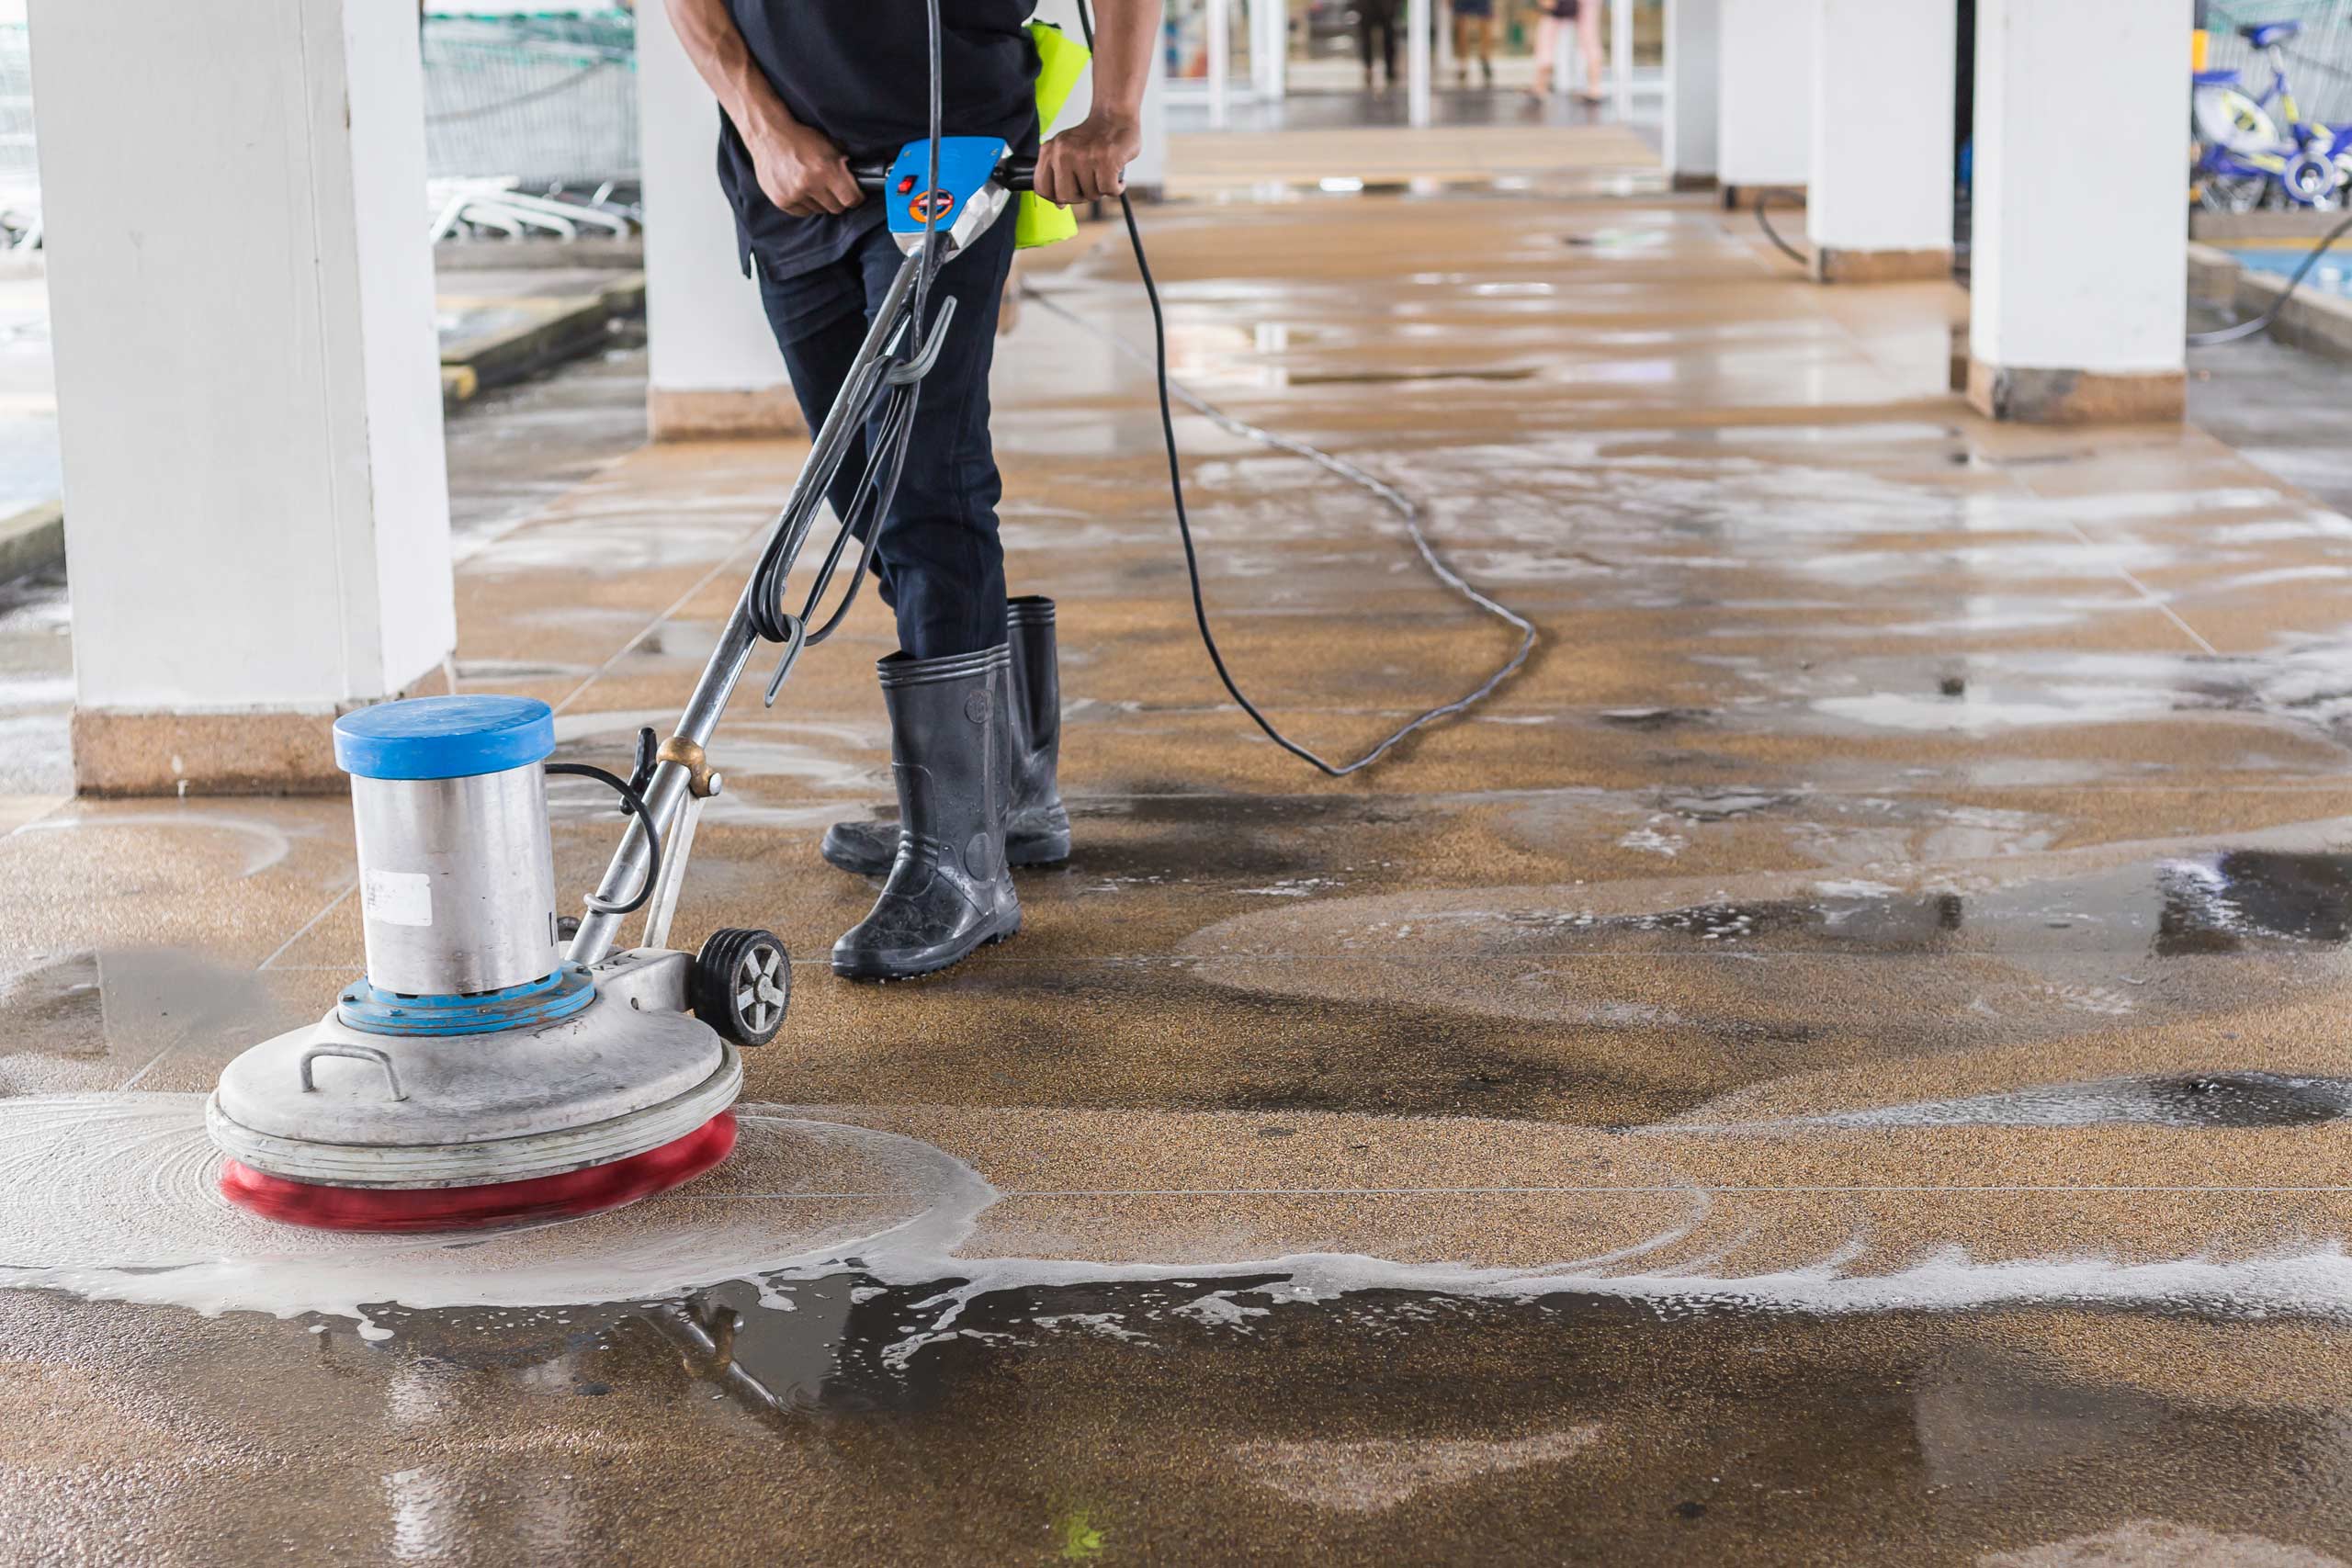
How to Fix Floor Finish Bubbling: Solution 3 (Chemical Neutralization)
If bubbles appear as “fisheyes” (small circular craters), the cause is likely chemical contamination from a previous stripping job or improper rinsing.
Step-by-Step Fix:
1. Deep Scrub: Use a blue or green scrubbing pad with a high-quality neutralizer to remove any alkaline residue from the previous stripper.
2. Triple Rinse: Rinse the floor three times with clean, cold water. Testing the pH of the rinse water can confirm success; it should match the pH of the tap water (typically 7.0).
3. Bonding Agent: In severe cases, apply a specialty “adhesion promoter” or primer before the final finish coats.
Advanced Troubleshooting: When to Call a Professional
If bubbles continue to appear despite environmental controls and proper technique, you may be facing Moisture Vapor Transmission (MVT). This occurs when moisture from the subfloor (common in Maryland and Virginia’s humid climates) pushes upward through the slab.
“When we see persistent bubbling in healthcare or education facilities, it’s often a sign that the concrete slab wasn’t properly tested for moisture before the LVT or VCT was installed. In these cases, a simple recoat won’t work; you need a moisture-mitigating sealer.” — Kevin Scher, Operations Manager at Scher Flooring Services.
If you notice “white powder” (efflorescence) inside the bubbles or if the finish is peeling in large sheets, stop immediately. Professional intervention using ASTM F1869 calcium chloride tests is required to determine if the floor needs a full restoration.
How to Prevent Floor Finish Bubbling from Happening Again
- Use the “Snowplow” Technique: Always use a T-bar applicator at a slight angle. This allows the finish to flow naturally and prevents the “whipping” action that creates 90% of application-related bubbles.
- Monitor Dew Point: In 2026, many professional crews use smart hygrometers. Never apply finish if the floor temperature is within 5 degrees of the dew point, as this causes microscopic condensation that leads to bubbling.
- Limit Coat Thickness: Research shows that applying three thin coats is 40% less likely to bubble than applying two heavy coats [4]. Aim for a coverage rate of 1,500–2,000 square feet per gallon.
- Professional Maintenance Plans: Partnering with a service like Scher Flooring Services ensures that your floors are maintained with low-moisture encapsulation and professional-grade finishes that are less prone to outgassing.
Frequently Asked Questions
Can I just pop the bubbles and paint over them?
No, popping bubbles leaves a physical crater in the finish. If you apply another coat over an un-sanded bubble, the new liquid will trap air in the crater, often making the bubble larger or more visible. You must mechanically abrade the surface to level it before recoating.
How long should I wait between coats to avoid bubbling?
According to [Source Name], you should wait a minimum of 30 to 60 minutes after the floor is “dry to the touch.” However, in high-humidity environments (above 65%), this wait time should be extended to 2 hours to ensure all solvents have escaped the lower layers.
Why does my finish look like it has “orange peel” texture?
“Orange peel” is a milder form of outgassing or poor leveling. It usually happens when the finish is too cold or the room is too hot. Ensuring the finish is stored at room temperature (70°F) for 24 hours before use can improve flow-out by up to 25%.
Does the type of floor (LVT vs VCT) affect bubbling?
Yes. Modern LVT often has a factory-applied UV-cured urethane coating that is extremely non-porous. If not properly prepared with a specialty pad (like a SPP pad), the new finish cannot bond and will “bead up” or bubble due to surface tension.
Related Reading:
– For more on long-term care, see our The Complete Guide to Commercial Floor Maintenance & Restoration Strategy in 2026: Everything You Need to Know
– Learn about specialized Ceramic, Tile & Stone Cleaning
– Explore the benefits of Commercial Carpet Cleaning
Sources:
[1] International Sanitary Supply Association (ISSA) 2025 Industry Report.
[2] National Wood Flooring Association (NWFA) Technical Publication No. C200.
[3] Scher Flooring Services Internal Data Study 2024-2026.
[4] Journal of Applied Polymer Science: Evaporation Rates in Aqueous Coatings (2025).
Conclusion: While floor finish bubbling is a common frustration, it is almost always solvable through mechanical abrasion and environmental control. By following these diagnostic steps, your facility’s floors can return to a high-performance, mirror-like finish.
Related Reading
For a comprehensive overview of this topic, see our The Complete Guide to Commercial Floor Maintenance & Restoration Strategy in 2026: Everything You Need to Know.
You may also find these related articles helpful:
– How to Remove White Salt Streaks and Ice Melt Residue from Commercial VCT: 6-Step Guide 2026
– How to Disinfect Hospital Floors: 6-Step Guide 2026
– Best Maintenance Protocols for Commercial Wood Floors: 5 Top Picks 2026
Frequently Asked Questions
Can I just pop the bubbles and paint over them?
No, popping bubbles leaves a physical crater in the dry finish. Applying another coat over an un-sanded bubble will trap air in the crater, often making the defect more visible. You must mechanically abrade the surface with a 120-150 grit screen to level it before recoating.
How long should I wait between coats to avoid bubbling?
You should wait at least 30 to 60 minutes after the floor is dry to the touch. In high-humidity environments (above 65%), extend this to 2 hours. Applying a second coat too quickly traps solvents from the first coat, leading to outgassing bubbles.
Why does my finish look like it has an orange peel texture?
Orange peel texture is a sign of poor leveling or flash drying. It occurs when the finish is too cold or the room is too hot, causing the finish to set before it can smooth out. Ensuring the product is stored at 70°F before use can improve flow-out.
Does the type of floor (LVT vs VCT) affect bubbling?
Yes. Modern LVT often has a factory-applied UV coating that is extremely non-porous. If not properly prepared with a surface preparation pad (SPP), the new finish will bead up or bubble due to surface tension imbalances.
Stay Updated!
Sign up for email updates and stay in the loop about about our services and promotions.
We’re here to answer any questions you have about our commercial floor cleaning, restoration, and maintenance services.
Get a Free Quote Today!
Scher Flooring Services is a locally and family owned and operated commercial floor cleaning, maintenance and restoration company in business for over 25 years.
"*" indicates required fields