Maintaining and cleaning vinyl floors in commercial spaces is crucial for preserving their durability, shine, and overall aesthetic appeal. The process of stripping and sealing vinyl floors not only restores their original appearance but also provides a protective layer that prolongs their lifespan. In this guide, we’ll explore the comprehensive steps to effectively strip and seal vinyl floors, ensuring they remain a durable and attractive feature in your space.
What Are Vinyl Floors?
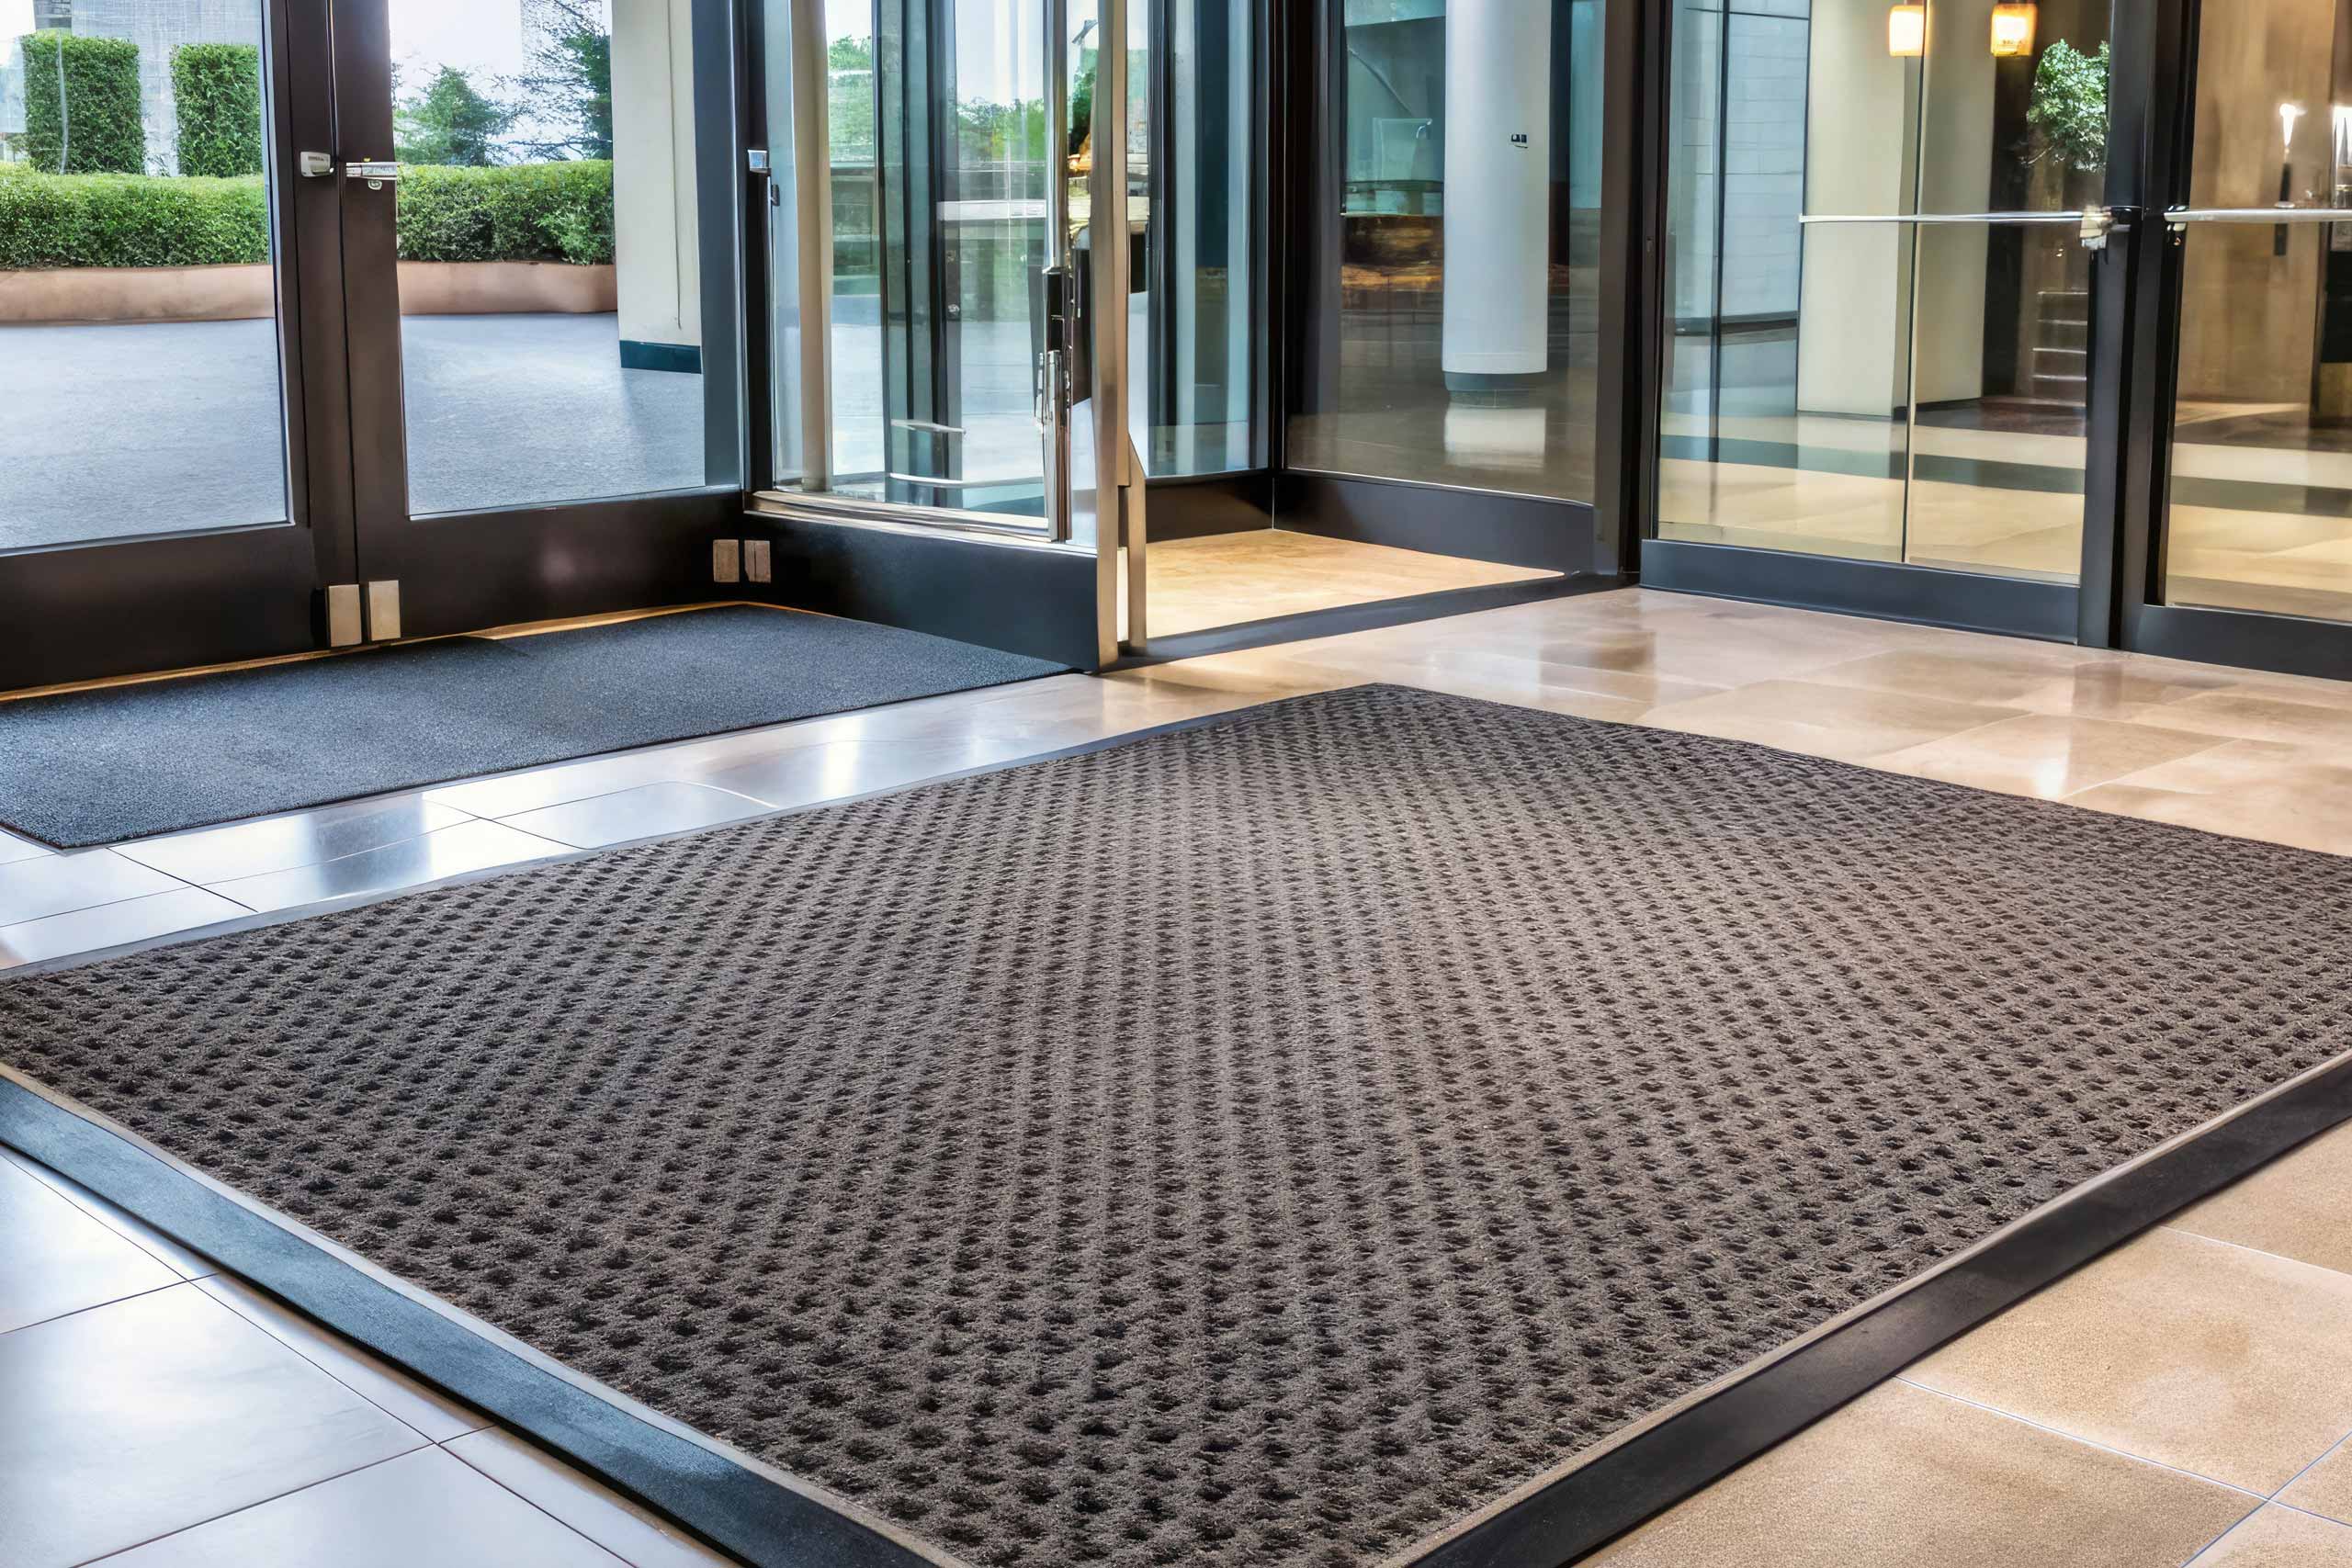
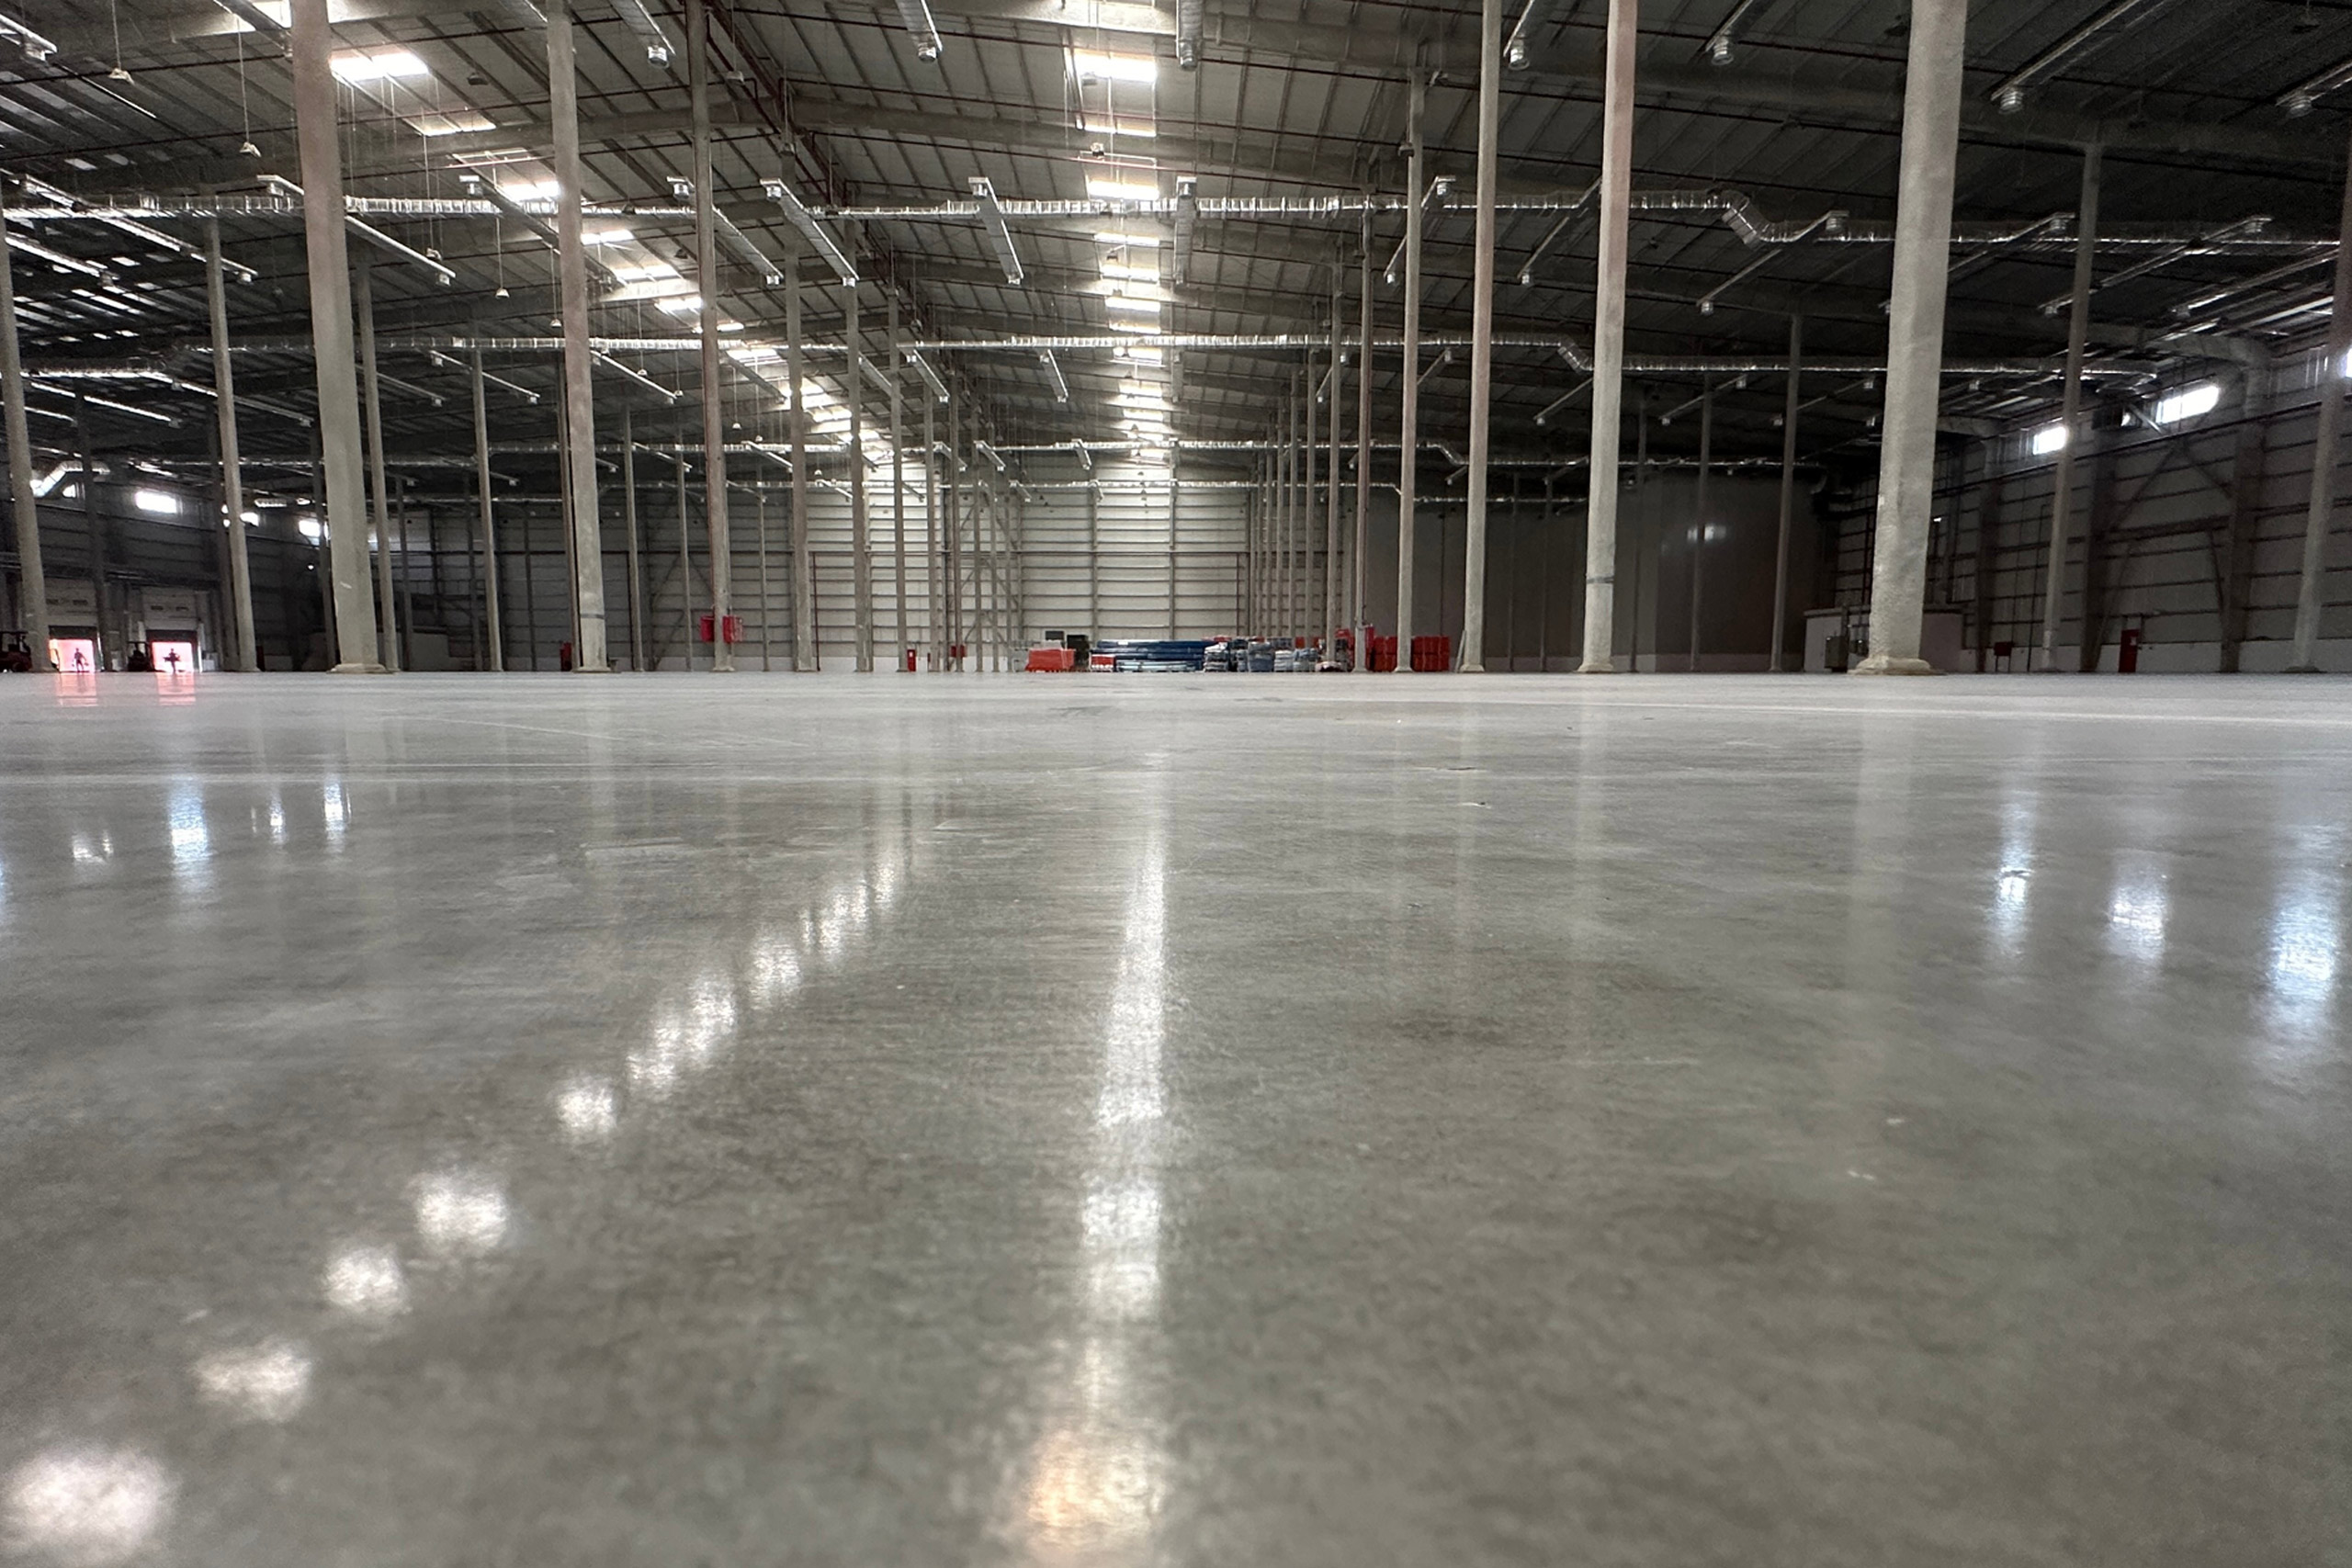
Vinyl floors are a popular choice for commercial spaces due to their durability, cost-effectiveness, and versatility for floor maintenance. These hard flooring surfaces are known for their ability to withstand heavy foot traffic while maintaining a polished appearance.
Definition and Features of Vinyl Flooring
Vinyl flooring is a synthetic material made from PVC (polyvinyl chloride), designed to mimic the look of natural materials like wood, stone, or marble flooring. Its key features include:
- Resistance to abrasion, stains, and water.
- A protective layer that enhances durability and shine.
- Low maintenance requirements compared to other hard flooring surfaces.
Types of Vinyl Floors Used in Commercial Spaces
- Luxury Vinyl Tiles (LVT): Resemble natural materials like stone or wood and offer a sleek, modern appearance.
- Sheet Vinyl: Known for its seamless application and water-resistant properties.
- Vinyl Composition Tiles (VCT): Durable and cost-effective, ideal for high-traffic areas.
Why Vinyl Floors Need Regular Maintenance
Over time, dirt, grime, and wear can dull the appearance of vinyl floors. Regular cleaning and floor maintenance, including stripping and sealing, are necessary to:
- Prevent scratches and cracks.
- Enhance resistance to stains and spills.
- Restore the floor’s shine and protect its barrier.
Next, we’ll dive into why stripping and sealing are essential for cleaning film maintaining the quality of vinyl floors.
Why Strip and Seal Vinyl Floors?
Regularly stripping and sealing vinyl floors ensures they maintain their durability and aesthetic appeal. This process rejuvenates the floor surface and extends its lifespan.
Benefits of Stripping and Sealing Vinyl Floors
- Restores Shine: Removes dirt, grime, and old sealer to reveal a fresh surface.
- Protects the Floor: Adds a protective layer to prevent abrasion, stains, and cracks.
- Improves Durability: A sealed surface withstands high traffic areas more effectively.
- Cost Savings: Reduces the need for premature replacement by enhancing the floor’s longevity.
Signs That Your Vinyl Floor Needs Stripping and Sealing
- Dull or Discolored Surface: Indicates worn-out sealant.
- Noticeable Scratches: High traffic areas can cause visible scratches or cracks.
- Loss of Shine: The last strip may have left the floor vulnerable to dirt and grime.
Now that we understand the importance, let’s explore the tools and materials required for the stripping and sealing process
Tools and Materials Needed to Strip and Seal Vinyl Floors
Before starting the stripping and sealing process, gather the right tools and materials to ensure an efficient workflow.
Essential Tools for Stripping Floors
- Floor Stripper Machine: Removes the old existing sealer effectively.
- Mop and Bucket: For applying and removing the stripper solution.
- Safety Gear: Gloves, goggles, and masks to protect against chemicals.
Materials Required for Sealing Floors
- Sealant or Floor Finish: Creates a durable barrier and enhances shine.
- Applicators: Pads or brushes for even application of the new sealer.
- Neutral Floor Cleaner: Prepares the floor surface by removing dirt and cleaning film.
Recommended Commercial-Grade Products
- High-quality floor strippers for efficient cleaning.
- Long-lasting sealants designed for kitchen areas and high traffic areas.
With your floor ready and your tools and materials ready, you’re set to begin the step-by-step guide for stripping and sealing vinyl floors.
Step-by-Step Guide to Stripping and Sealing Vinyl Floors
The process of stripping and sealing vinyl floors involves removing old, worn-out sealant, cleaning the floor thoroughly, and applying a fresh layer of sealant to protect and enhance new floor and its appearance. Follow this comprehensive guide to achieve professional results.
Step 1: Preparing the Area
Preparation is critical to ensure the the stripping process and sealing process is efficient and effective.
- Clear the Area:
- Remove all furniture, rugs, and any other obstructions from the workspace.
- Sweep the floor to remove loose debris and dirt that could interfere with the process.
- Inspect the Floor Surface:
- Check for scratches, cracks, or areas with heavy buildup of old sealer. These spots may require extra attention during stripping.
- Ventilate the Space:
- Ensure proper ventilation by opening windows or using fans to dissipate fumes from the stripper solution and sealant.
- Gather Safety Gear:
- Equip yourself with gloves, goggles, and a mask to protect against chemicals used during the process.
- Prepare Cleaning Supplies:
- Assemble a stripper solution, mop, bucket, and hot water for the stripping phase.
By properly preparing, you create an easier surface and a clean slate for the stripping process, ensuring the floor is ready for the next step.
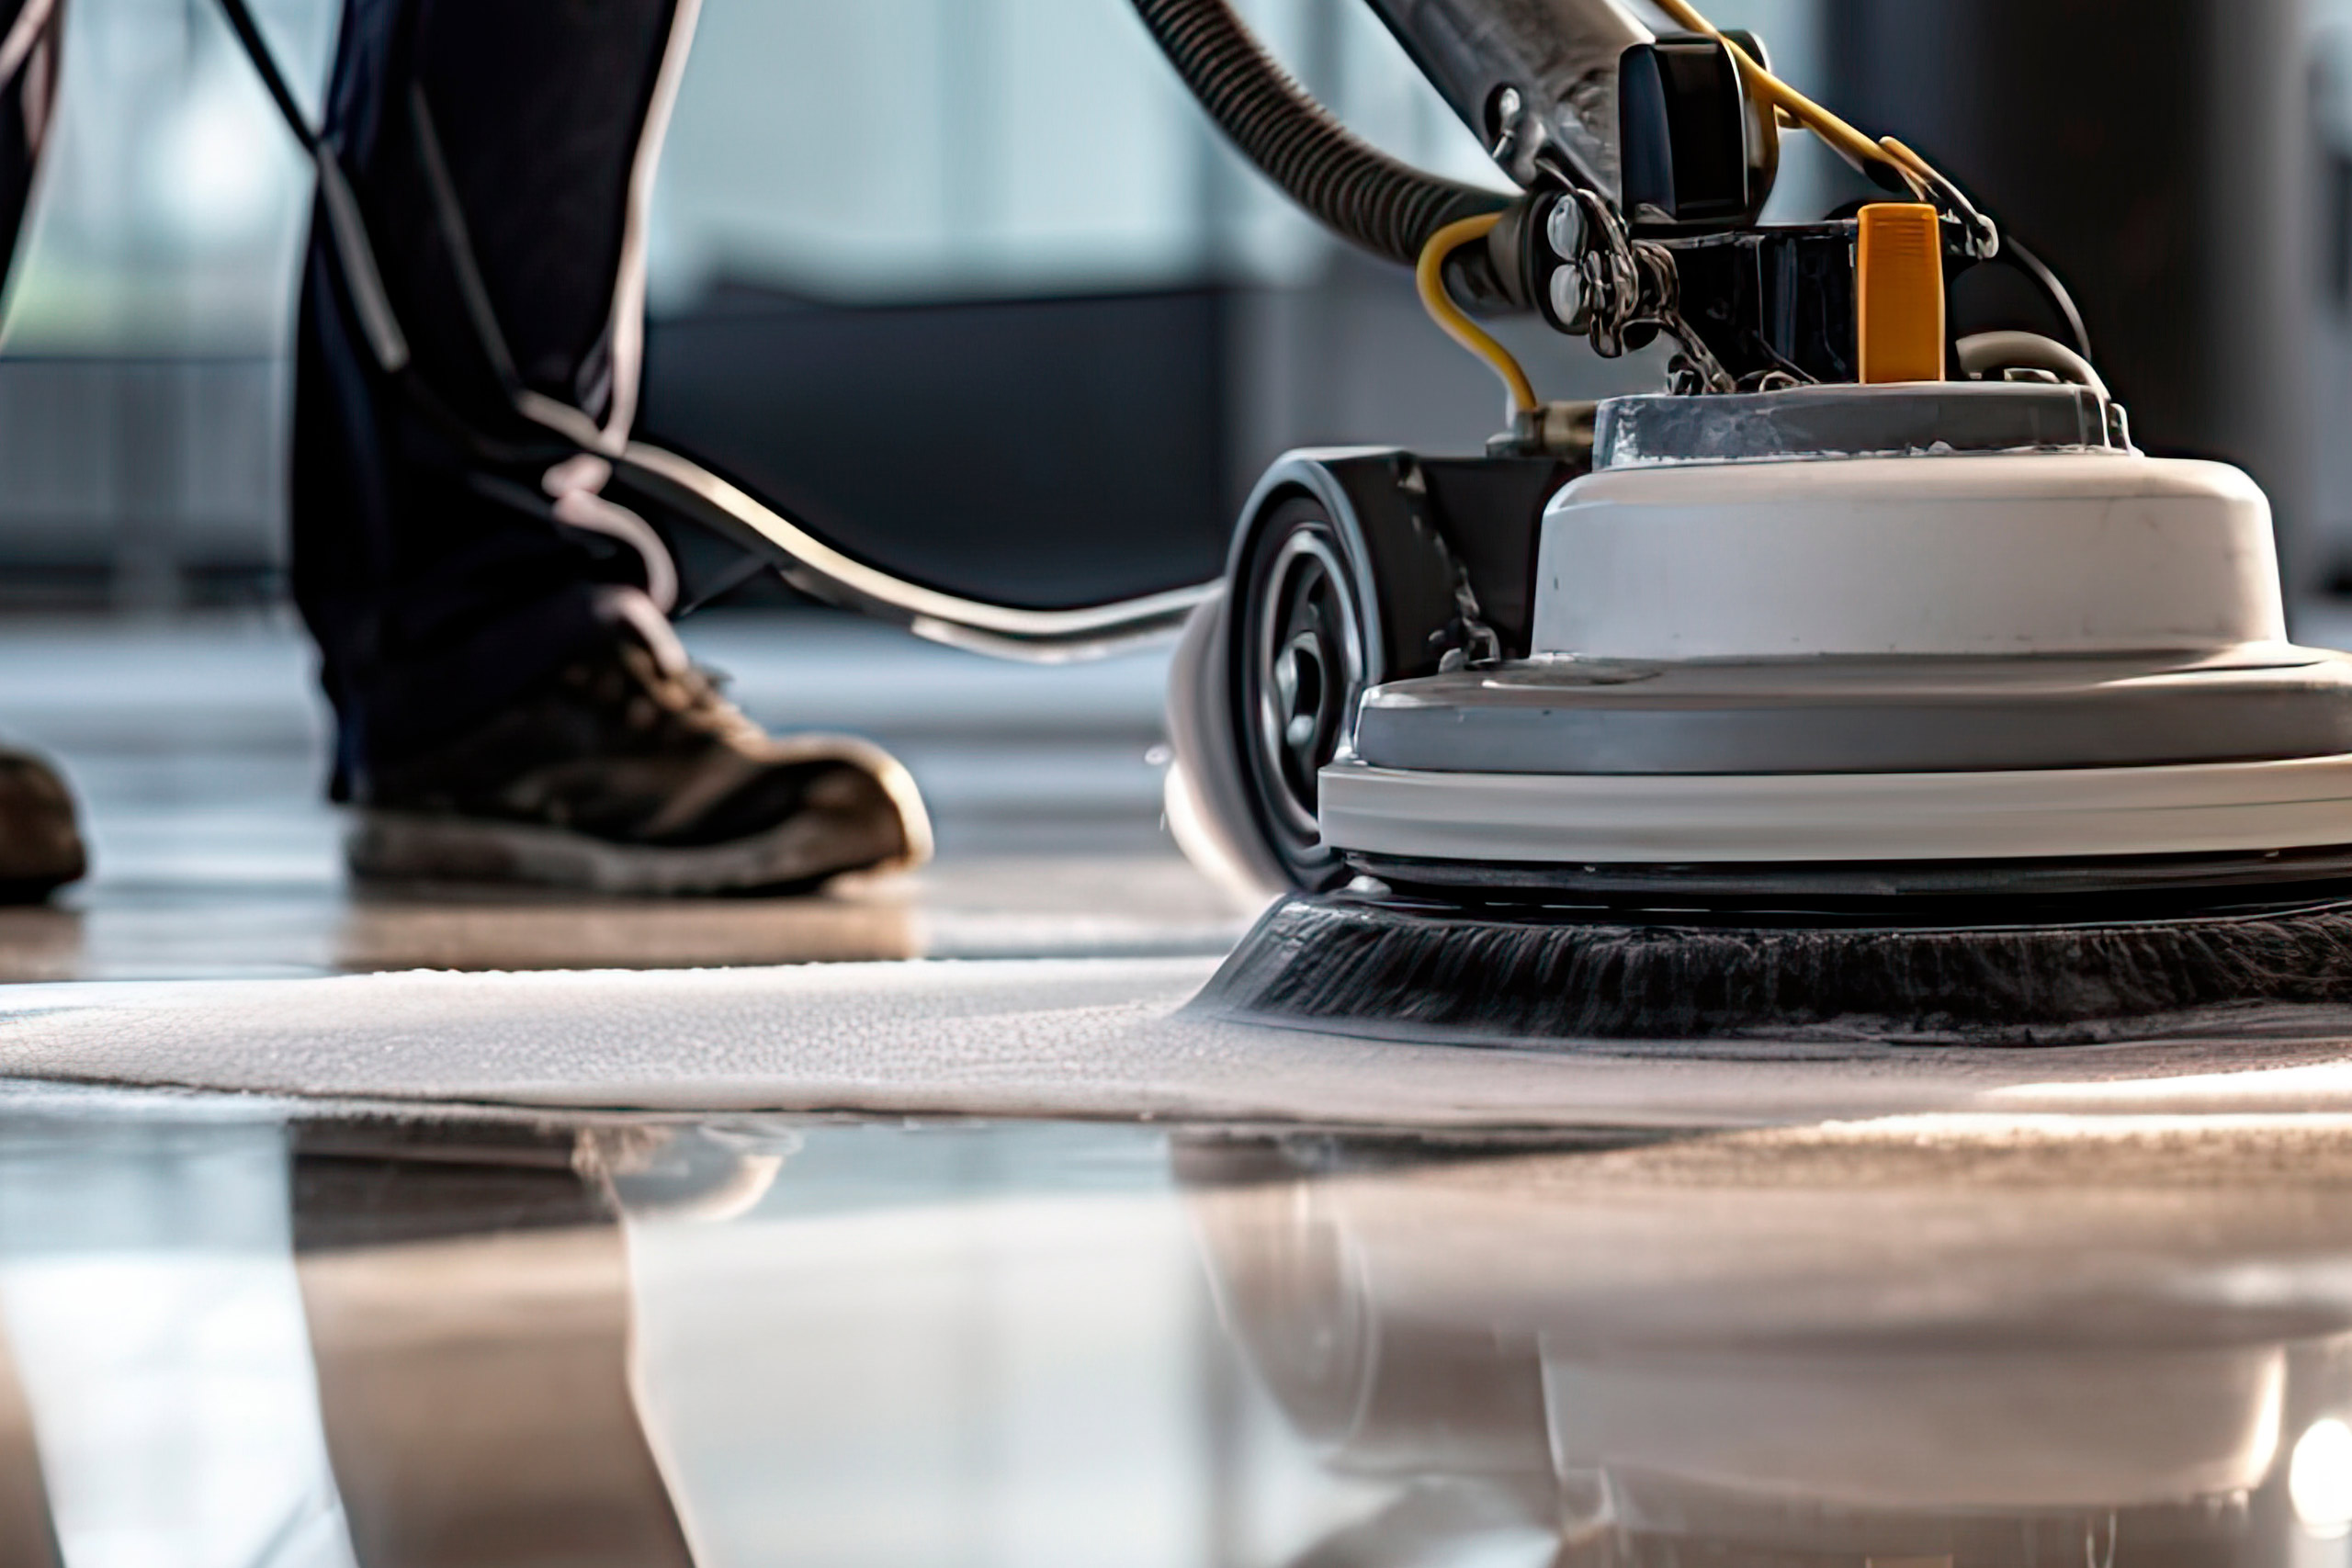
Step 2: Stripping the Floor
Stripping removes the worn sealant, dirt, and grime to reveal the bare floor surface. Follow these steps for an effective floor stripping phase:
- Dilute the Stripper Solution:
- Mix the stripper solution with hot water according to the manufacturer’s instructions.
- Use the right ratio to avoid damaging the floor while ensuring the solution is strong enough to remove the old sealer.
- Apply the Solution:
- Spread the solution evenly over the floor using a mop.
- Allow it to sit for the recommended time, typically 10-15 minutes, to break down the existing sealer.
- Use a Floor Stripper Machine:
- Employ a floor stripper machine to scrub and lift the loosened sealant and debris.
- Focus on high traffic areas, as these often have heavier buildup.
- Rinse the Floor:
- Mop the floor with clean water to remove any residue left by the stripping solution.
- Repeat the rinsing process until the floor is completely clean.
- Let the Floor Dry:
- Ensure the floor is completely dry before moving to the sealing phase. Any moisture can prevent the new seal from adhering properly.
With the stripping complete, your tile floor is now bare and ready for sealing, the next critical step.
Step 3: Sealing the Floor
Sealing the floor creates a protective layer that enhances durability, resistance to stains, and shine. Here’s how to make seal work to do it right:
- Select the Right Sealant:
- Choose a sealant suitable for vinyl floors and the level of wear your floor endures.
- For kitchen areas or spaces with heavy foot traffic, consider a high-durability option.
- Apply the First Coat:
- Use a clean applicator, such as a pad or brush, to spread a thin, even layer of sealant.
- Work in sections to avoid missing spots and ensure uniform application.
- Allow the First Coat to Dry:
- Let the first coat dry completely, usually for 1-2 hours, depending on the sealant type and environmental conditions.
- Apply Additional Coats:
- Repeat the process for 2-3 additional new coats, allowing each coat to dry fully before applying the next.
- More coats may be required for high traffic areas to provide extra protection.
- Conduct a Final Inspection:
- Once the final coat dries, inspect the floor for any missed spots or uneven areas.
- Make touch-ups if necessary to ensure a smooth, uniform finish.
The sealing process not only enhances the marble flooring‘s durability but also gives it a refreshed and polished look.
Step 4: Post-Sealing Care
Proper care after sealing ensures the sealant sets well and the sealer lasts longer. Here’s what to do:
- Avoid Heavy Traffic Immediately:
- Restrict foot traffic on the floor for 24-48 hours to allow the sealant to cure completely.
- Remove Excess Sealant:
- If any sealant is left in unwanted areas, clean it carefully with a soft cloth or neutral cleaner.
- Conduct a Final Cleaning:
- Mop the floor with clean water to remove any dust or residue that might have settled during sealing.
- Plan Regular Maintenance:
- Implement a routine cleaning schedule using mild, neutral cleaners to maintain the shine and protective layer of the sealant.
The stripping and re sealing the process restores the beauty and functionality of vinyl floors, ensuring they remain a standout feature in your commercial space. Up next, we’ll share tips to maximize the effectiveness of this process for long-term results.
Tips for Stripping and Sealing Vinyl Floors Effectively
To achieve professional-grade results, follow these expert tips:
- Common Mistakes to Avoid
Avoiding these mistakes can prevent damage to your vinyl floors and ensure the process is smooth and successful:
- Overusing the Stripper Solution:
- Excess solution can seep into seams and edges, potentially loosening the adhesive or damaging the subfloor.
- Always follow manufacturer dilution guidelines and use just enough to cover the surface.
- Skipping the Rinse Step:
- Residual stripper solution can interfere with the adhesion of the new sealant, resulting in uneven coverage.
- Rinse thoroughly with clean water to remove all residues before applying the sealant.
- Applying Uneven Layers of Sealant:
- Uneven application can lead to patchy protection and inconsistent shine.
- Use smooth, even strokes with an applicator and follow drying time instructions between coats.
- Not Allowing Sufficient Drying Time:
- Rushing to apply the next coat before the previous one is fully dry can trap moisture, leading to a compromised finish.
- Ensure each coat dries completely before proceeding to the next.
- Best Practices for Long-Lasting Results
Implementing these practices will ensure a professional-quality outcome and prolong the life of your vinyl floors:
- Prepare the Floor Properly:
- Clear all furniture and debris from the area.
- Sweep and mop the floor to remove dirt and grime before starting the stripping process.
- Work in Sections:
- Divide the floor into manageable sections, especially for large commercial spaces.
- This approach ensures the stripper solution is applied and removed before it dries out.
- Use Quality Products:
- Invest in high-quality stripper solutions and sealants designed specifically for vinyl floors.
- Opt for neutral cleaners and sealants with durability suited to high-traffic commercial areas.
- Apply Thin, Even Coats:
- Start with a thin base coat of sealant to establish a strong bond with the floor surface.
- Add subsequent layers gradually to build up the protective layer without overloading the floor.
- Perform Regular Maintenance:
- After sealing, clean the floor regularly using a neutral cleaner to prevent dirt buildup and maintain the protective layer.
- Reapply sealant periodically as recommended based on traffic levels.
- Safety Precautions During the Process
Prioritizing safety during the stripping and sealing process protects both the individual performing the task and the integrity most hard flooring surfaces part of the floor:
- Wear Protective Gear:
- Use gloves, goggles, and a mask to safeguard against chemical exposure.
- Non-slip footwear ensures better grip, especially when working with wet floors.
- Ensure Proper Ventilation:
- Open windows and doors or use fans to disperse fumes from stripper solutions and sealants.
- Ventilation helps prevent the buildup of potentially harmful vapors.
- Handle Chemicals Responsibly:
- Read and follow all product instructions and safety warnings.
- Store unused products in a cool, dry place out of reach of children or pets.
Next, we’ll discuss how often you should strip and seal vinyl floors to keep them in top condition.
How Often Should You Strip and Seal Vinyl Floors?
The frequency of stripping and sealing vinyl floors depends on usage and environmental factors.
Frequency Based on Foot Traffic
- High Traffic Areas: Every 6-12 months.
- Low Traffic Areas: Every 12-18 months.
Seasonal Considerations
- Prepare floors for winter or summer with regular sealing to prevent cracks and abrasion.
Professional Recommendations
Consult experienced professionals to determine the best maintenance schedule for your specific needs.
Cost of Stripping and Sealing Vinyl Floors
Factors Affecting the Cost
- Floor size and condition.
- Type and quality of sealant.
Estimated Cost Range for Commercial Spaces
- Approx. $1.50 to $4.00 per square foot.
DIY vs. Hiring Professionals
- DIY: Lower costs but requires time and effort.
- Professionals: Higher costs but better results and time efficiency.
Proper care after sealing ensures your investment lasts. Let’s the new seal and discuss maintenance tips in the next section.
Maintaining Sealed Vinyl Floors
Daily Cleaning Tips
- Mop with neutral cleaners to avoid stripping the protective layer.
- Wipe spills promptly to prevent stains.
Monthly and Quarterly Maintenance
- Polish floors to maintain their shine.
- Inspect for scratches or worn areas.
When to Schedule the Next Stripping and Sealing?
- Monitor high-traffic areas for signs of wear.
- Plan maintenance to avoid severe damage.
FAQs About Stripping and Sealing Vinyl Floors
How long does the process take?
Typically, 1-2 days depending on the floor size.
Can you strip and seal floors without professional help?
Yes, but expertise ensures better results.
What is the best time of year to perform this maintenance?
Spring and fall are ideal for optimal drying conditions.
This guide provides actionable steps for cleaning engineered wood and hardwood floors while protecting their surface, making it easy to maintain elegance and durability across both home and commercial settings
Conclusion
By following this guide, you can effectively strip and seal vinyl floors, ensuring they remain a durable and attractive feature in your commercial space. Regular maintenance and professional care will keep them looking as good as new for years to come.
Stay Updated!
Sign up for email updates and stay in the loop about about our services and promotions.
We’re here to answer any questions you have about our commercial floor cleaning, restoration, and maintenance services.
Get a Free Quote Today!
Scher Flooring Services is a locally and family owned and operated commercial floor cleaning, maintenance and restoration company in business for over 25 years.
"*" indicates required fields